My 2000 Whitehill XL1
The Frame
Click Images for a closer look.
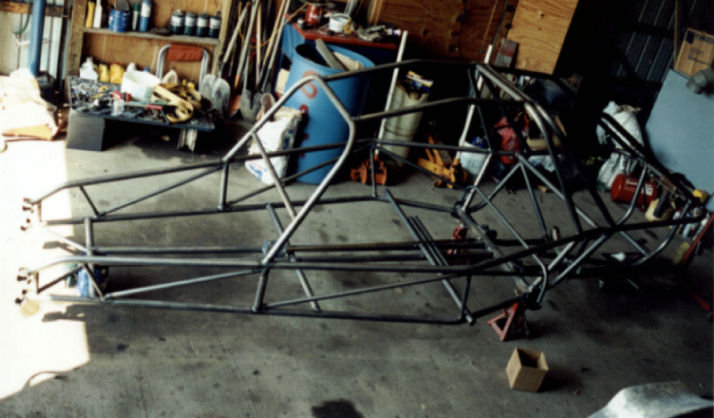
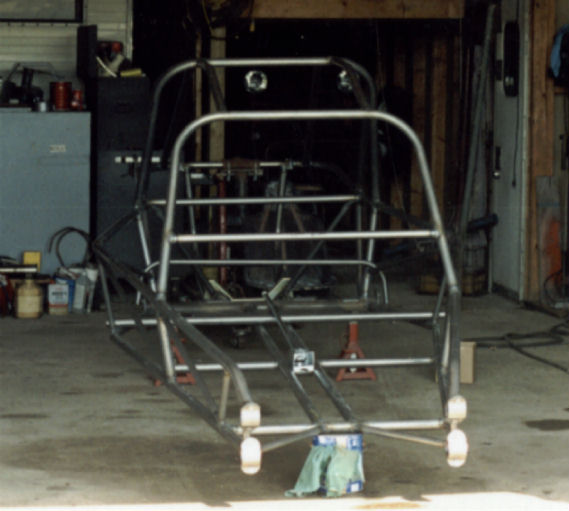
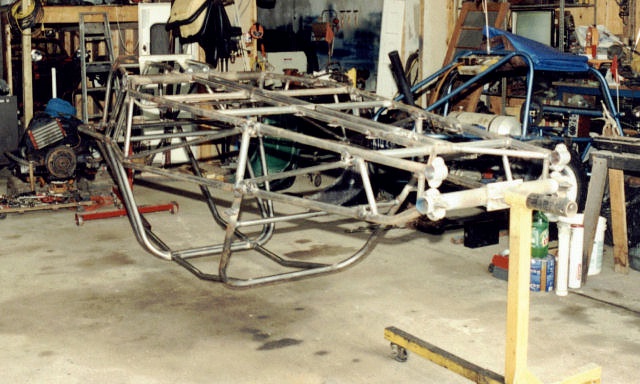
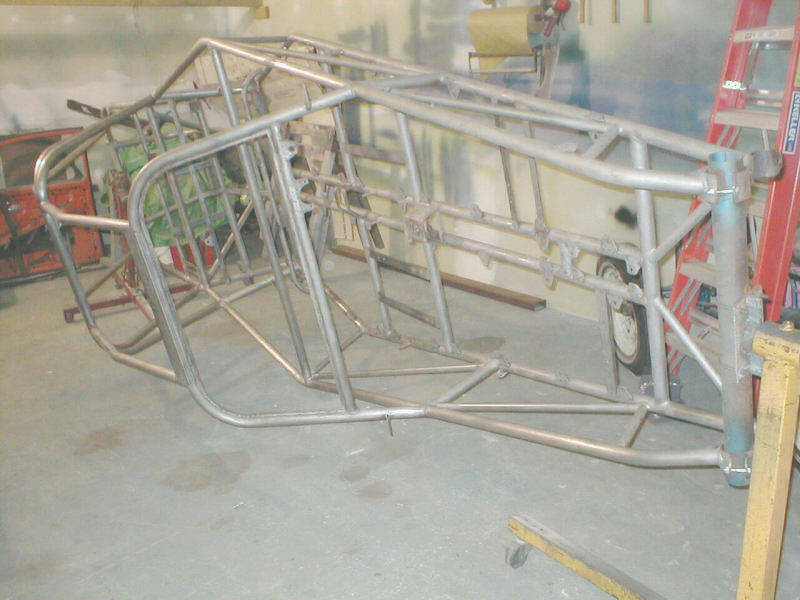
The frame (I purchased it fully welded) comes with the bare essentials, front end clamps, shifter box, and tubing pieces for seat positioning.
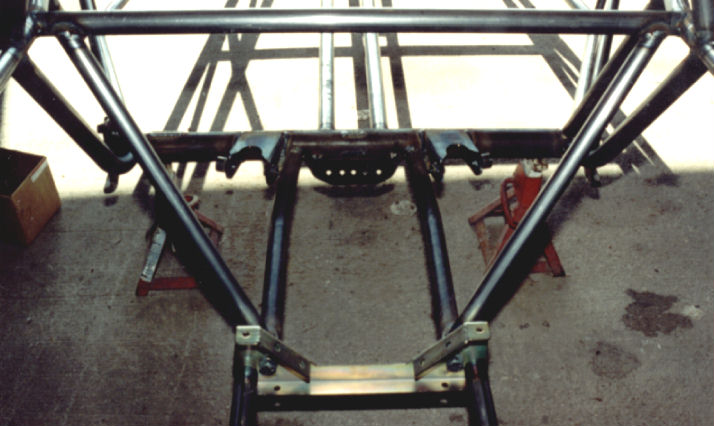
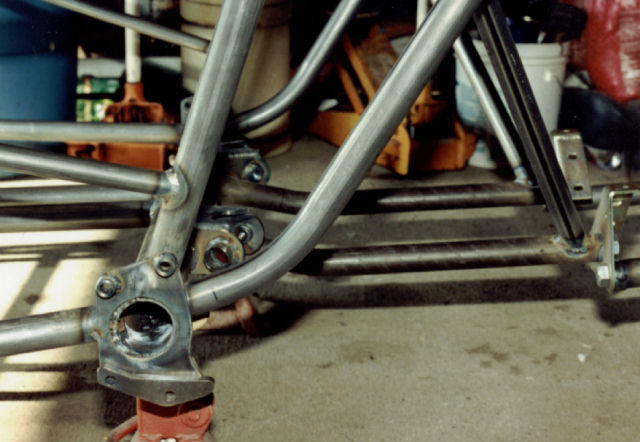
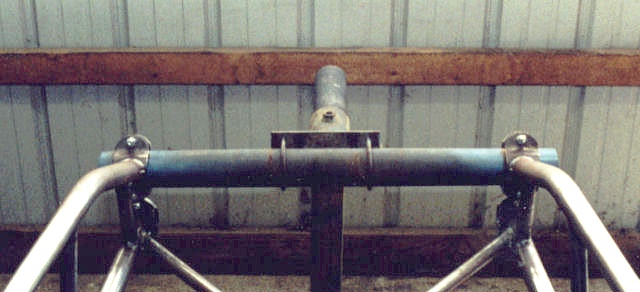
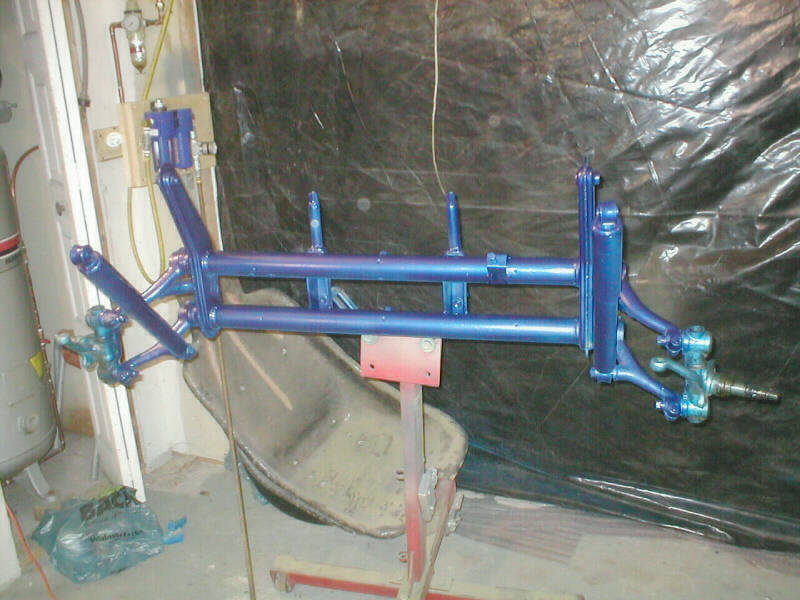
I also purchased the custom torsion housing.
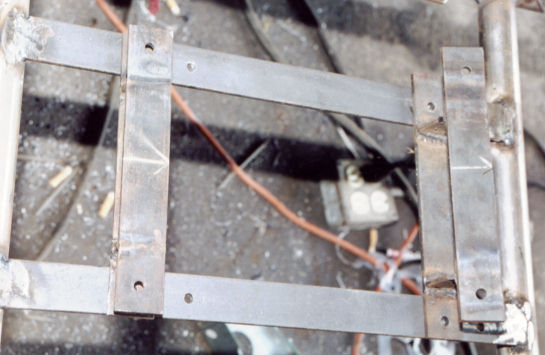
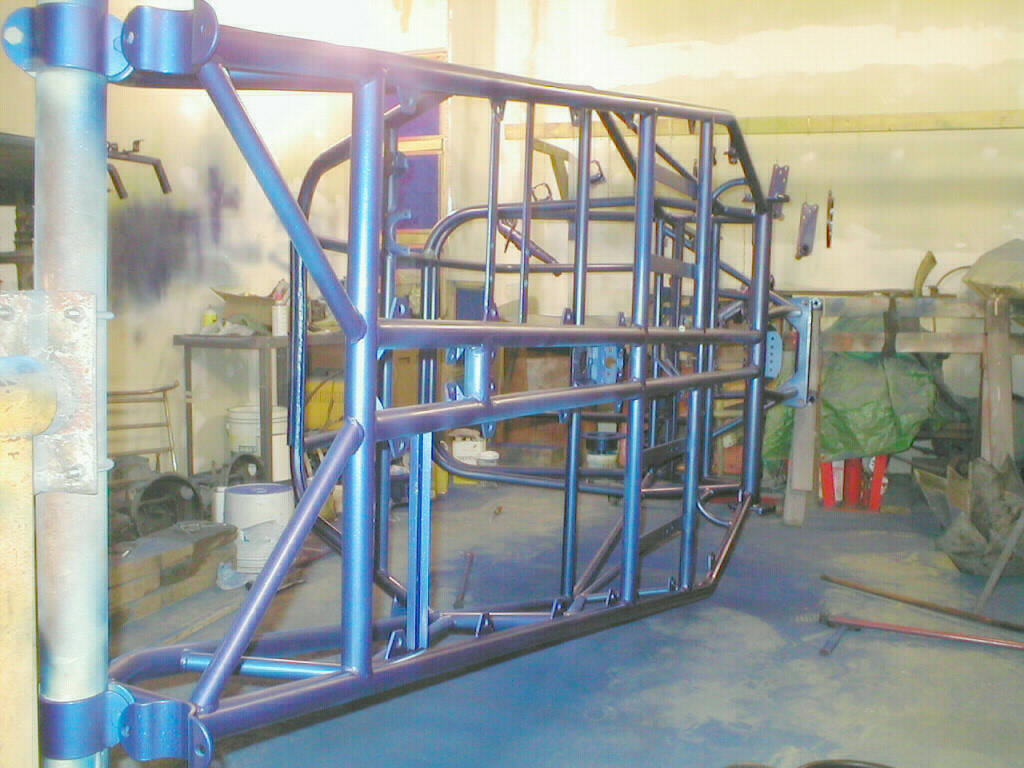
To make welding and painting easier, I use two engine stands and custom mounts to hold the frame.
This makes it possible to rotate the frame 360�, for easy access.
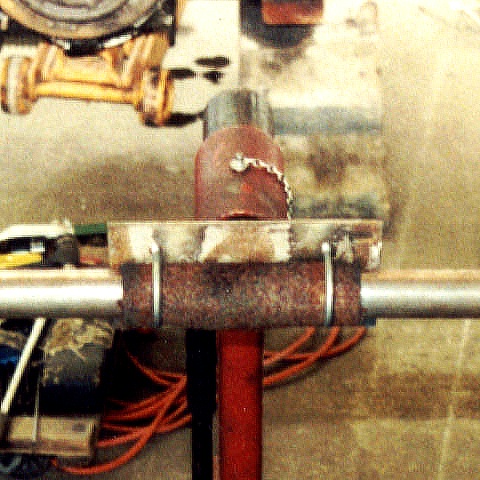
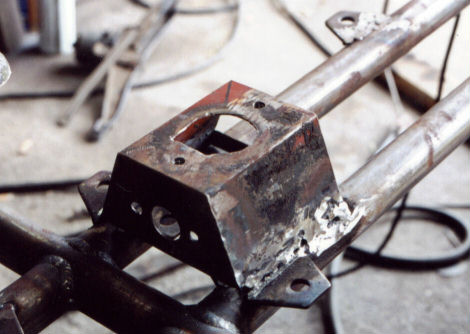
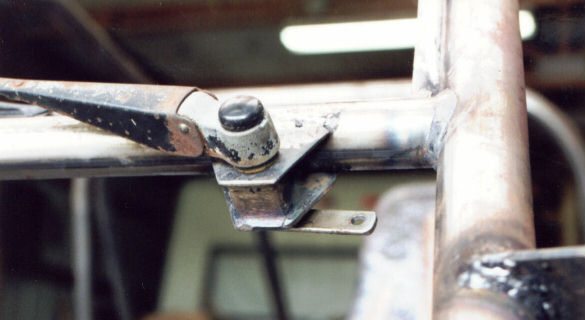
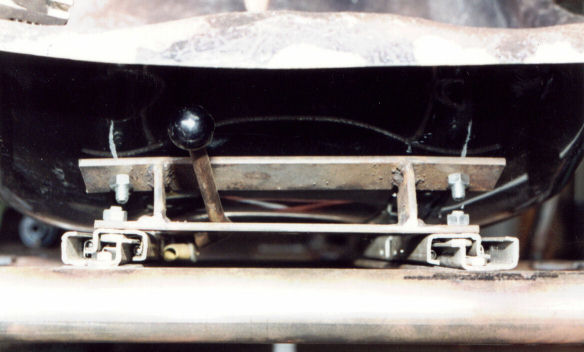
I didn't like the shift box that was supplied with the frame (standard Bugpack shifter mount box), so I manufactured my own. I also manufactured my own windshield wiper mount (needed to street legalize in Michigan).
For the drivers seat I fabricated a sliding seat system (so my wife could also drive), from an old motor home chair that I had sitting around.
The passenger seat is much more basic, but I still had to make the two seats look the same.
*** The pictures below this point should be better. I recently bought an Olympus D-370 1.3 mega-pixel camera. I'm sure you will notice a difference. ***
Well, after almost two years, I finally got back on track.
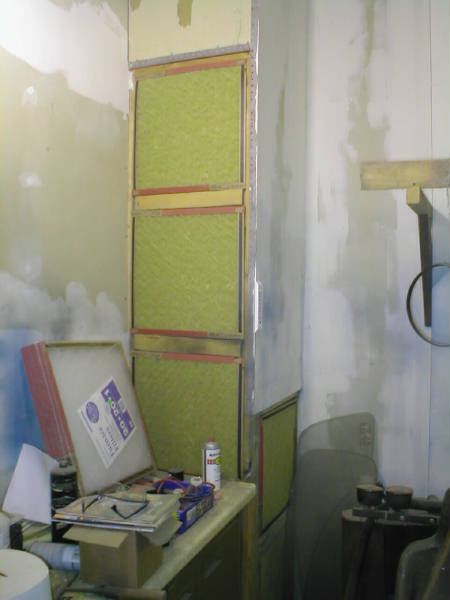
After that was done, it was time for paint. I am pretty lucky, in the fact that my father built a spray booth into his barn.
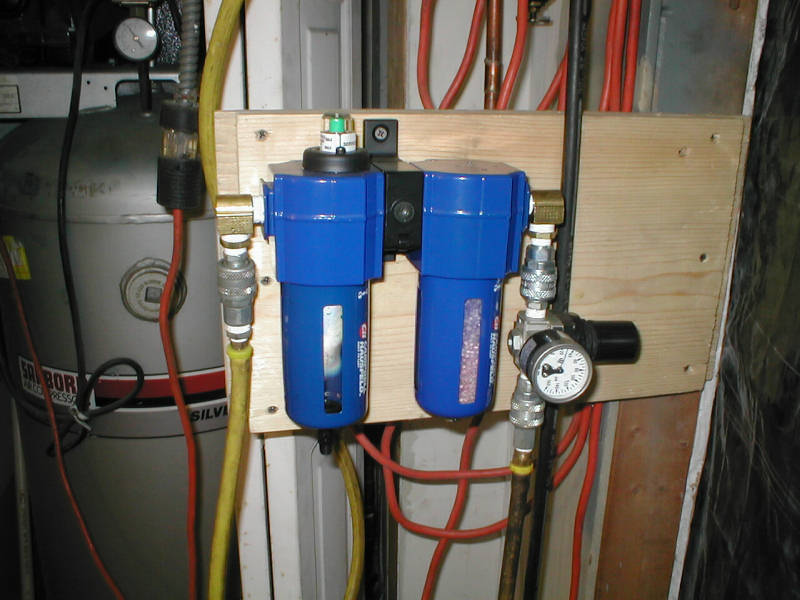
When he built the booth, he put in a filter tower in the corner. He used six 20x20x1 furnace filters with a fan built into the top of the tower. It draws more than enough air to keep the over spray down to a minimum. Next I needed a compressed air filter/dryer. I picked up a Campbell Hausfield at TSC (Tractor Supply Co.) for about $120.00. Even with the filter tower, I still use a respirator mask designed for painting.
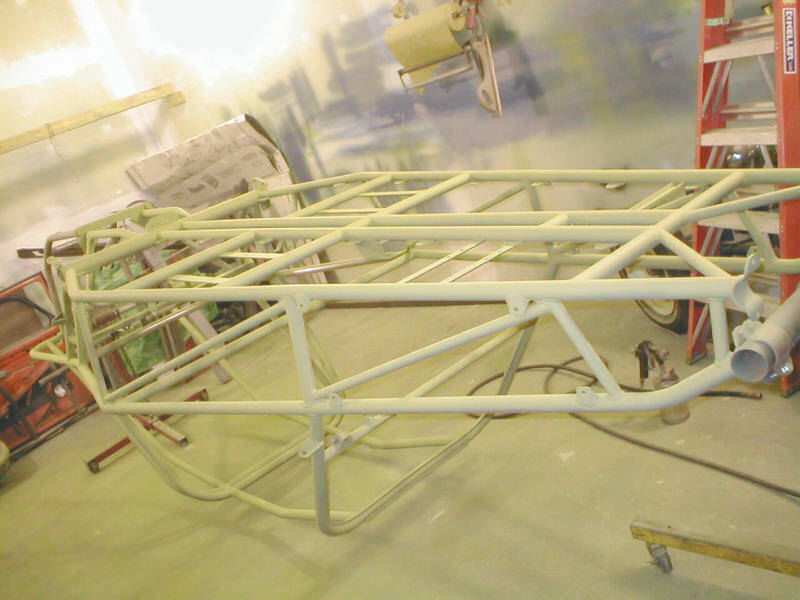
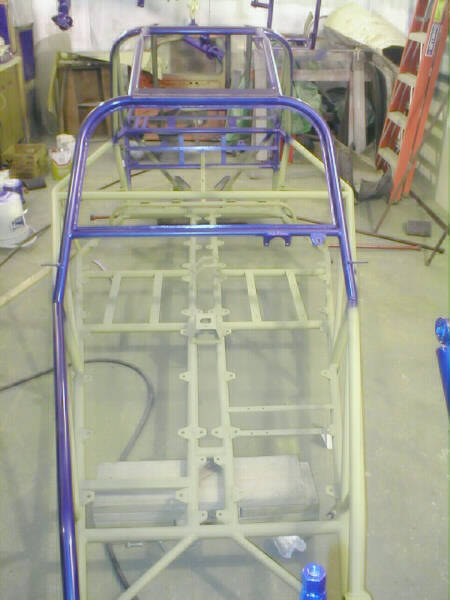
I have everything welded on, but first, I had to sand blast the frame, to remove the rust that had accumulated on it. The primer I chose is Dupont Variprime Self Etching Primer. It is a nasty yellow/green color, but it bonds to the metal very well. On my last buggy, I spilled some brake fluid when I was connecting the steering brake and the colored paint peeled off. But the primer was not affected at all and after seven years there is still no rust in that spot.
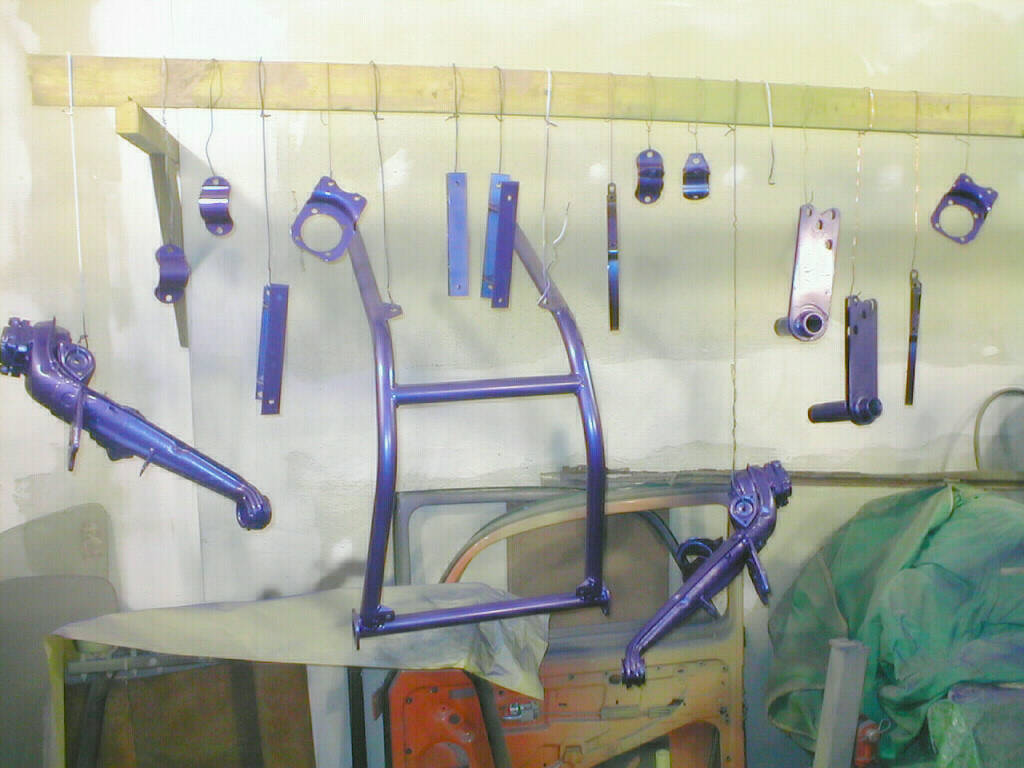
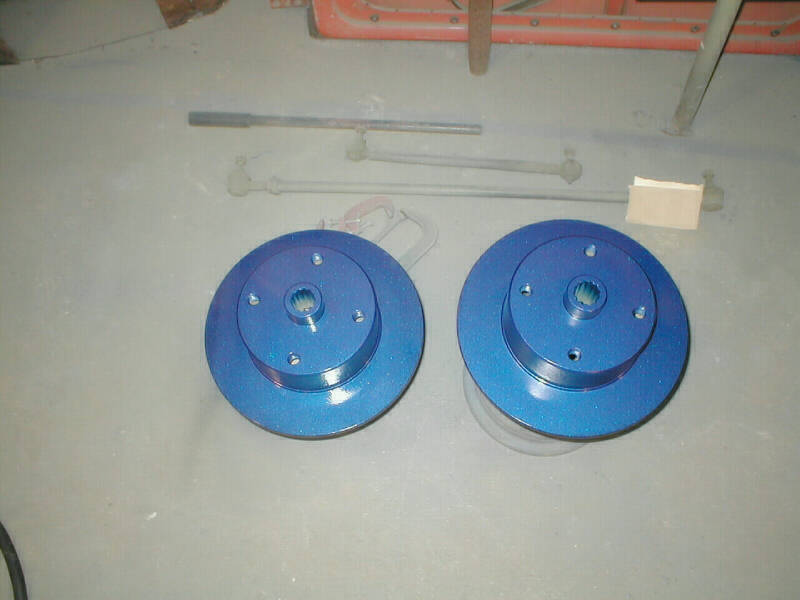
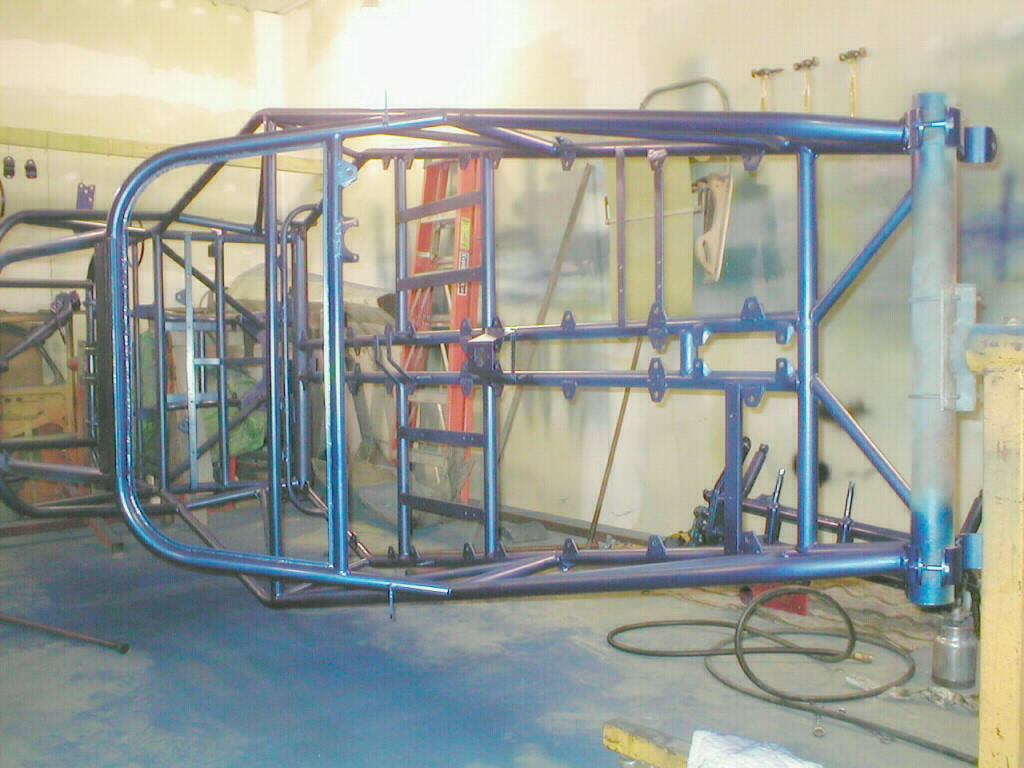
Finally, the color goes on. After blasting and priming all of the small pieces, it's time for color. The paint is Dupont Centurian brand, The color is Medium Concorde Blue Metallic. This is a one step acryllic enamel metallic paint, just paint for coverage. It gives a nice hard shiny finish, with the metal flake it sparkles in sunlight.
The frame is finally painted. Stay tuned for the assembly.

Last revised on 11/10/02 ,by JA Novotny, using SiteAid 2.2